


Import Your Historical Data Into Your WeatherLink Live
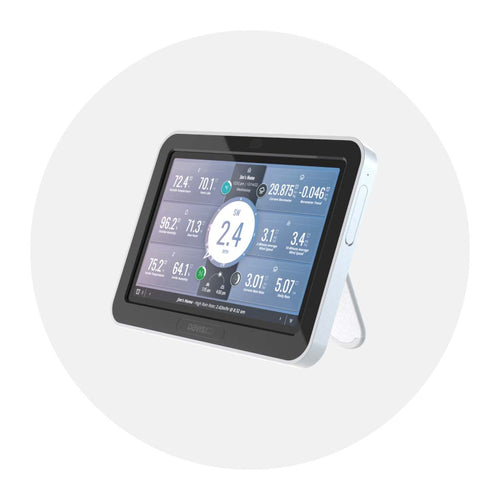
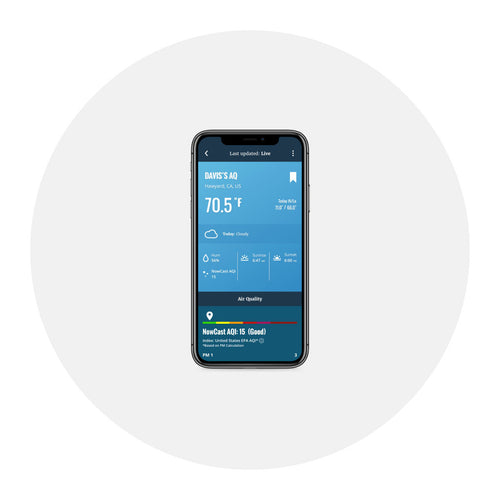
We heard a few requests from new WeatherLink Live customers who were thrilled with the product but wanted their old data currently stored in WeatherLink Computer Software to be merged into their WeatherLink Live to provide a seamless historical record. This would be a benefit for those who have upgraded their WeatherLink Live to Pro or Pro+ because they would be able to access and graph all their historical data along with the new data WeatherLink is uploading. And even for users who don’t want to upgrade, the old data would be used in the “Almanac” area of the WeatherLink app where highs and lows for years, months and days are shown.
 Here is how you can transfer historical data into your new WeatherLink Live with our new Import feature.
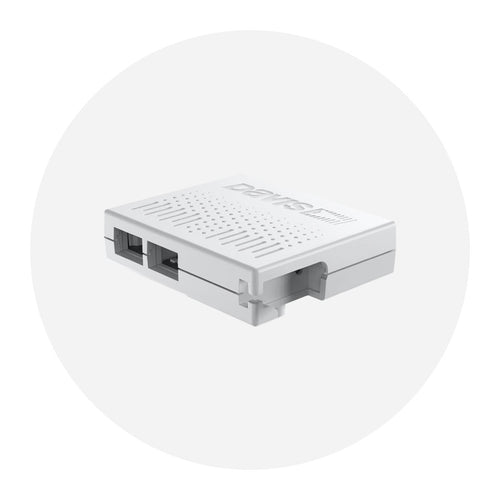
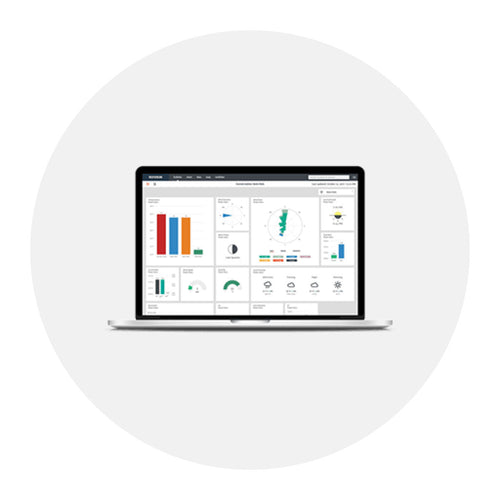
Install your WeatherLink Live and set up your account on WeatherLink.com. Then log in to your account and click the “tools” icon (it looks like a wrench), you will see a new tab: “import.” Clicking this will open a series of screens that will walk you through the process. A few steps are required to prepare the old data so that it is imported into WeatherLink Live correctly. Since this is a one-time effort, and failure to upload correctly is not easily undone, we urge you to use the PDF guide linked on the import page.
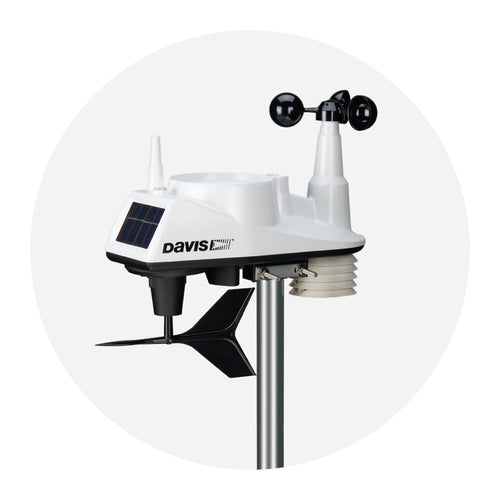
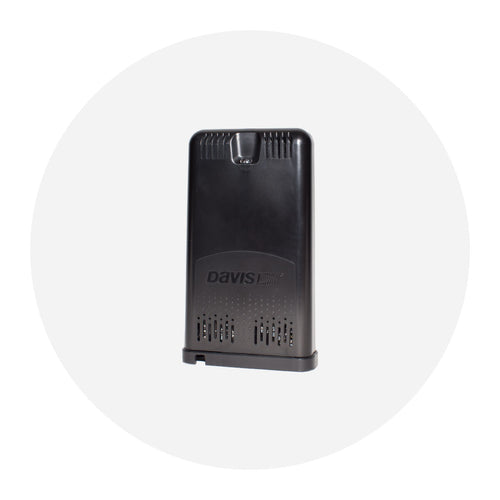
Most people will probably want to import old data from the same weather station that is now reporting to WeatherLink Live. (For example, you had a Vantage Vue uploading to WeatherLink.com via a WeatherLinkIP data logger. Now your same Vantage Vue is reporting directly to WeatherLink Live.)
But you can upload data you have from a very old weather station, or from an additional station like a Leaf Wetness and Soil Moisture/Temperature Station. In these cases, you will need to configure your data so that it imports correctly and “maps” to the right station set up on WeatherLink Live. The instructions.pdf explains in greater detail how to do this, so if this is your situation, please do use that resource.
An added perk of this process is that it will give you the chance to correct any odd data that is floating around in your historical data, such as an odd temperature spike, or to add a rainfall amount to make yearly totals correct.
If you should need any help with the process, our Technical Support Team is always here to lend a hand.
You can learn more about WeatherLink Live here.
*Promotion Details: Get WeatherLink Pro upgrade FREE for one year: a $47.40 value. Offer expires 10/15/2019. Requires WeatherLink Live purchase from www.davisinstruments.com using promo code LIVE19 at checkout. Following order confirmation, Davis Instruments will issue a one-time use activation code via email. The code must be entered on the WeatherLink.com purchase upgrade payment screen. One activation code per person. Limited to the United States and Canada only. Offer excludes previously purchased WeatherLink Live devices.
![]()
In the face of escalating environmental risks, AEM is the essential source for insights on weather, climate, lightning, floods, wildfires, water management, and more.
Learn more about AEM and all of our solutions here.