


How to Give Your Weather Station a Luxurious Spa Day
In the last few weeks, many of us have found ourselves with time to do some of those household chores we have been too busy to get to. Plus, it’s spring in the Northern Hemisphere. Those are two good reasons to give your weather station a total spa day.
Our stations routinely last over a decade with minimal maintenance. But it's never a bad idea to do annual preventative maintenance on your system. So, no “routine maintenance” this year. This year your trusty, hard-working, never-miss-a-data-packet station should get the royal treatment.
Here’s a step by step tutorial on how to do it. Your station will thank you with more years of reliable data.
We've even created Complete Tune Up Kit for Vantage Pro2 and Complete Tune Up Kit Vantage Vue, with everything you need to give your station a spa day. You’ll save money and time.
(We've also got videos to walk you through many of these steps: Vantage Pro2 Maintenance Video and Vantage Vue Maintenance Video.)

Vantage Pro2
What you need:
-
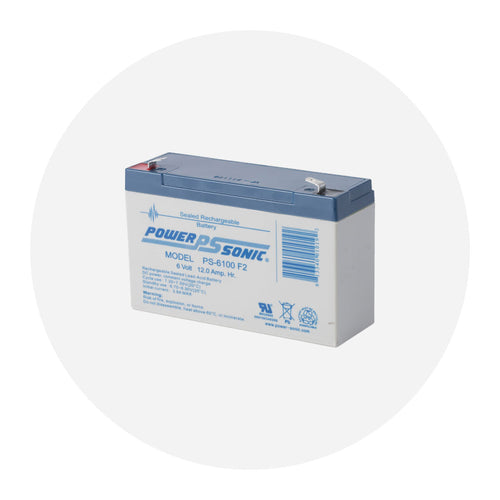
Vantage Pro2 Complete Tune Up Kit: Product number 6997 Cost $225 (save over buying individual parts)
Includes:
- Lithium Battery
- Rain Collector Tipping Spoon Upgrade Kit (US) or Rain Collector Tipping Spoon Upgrade Kit (Metric)
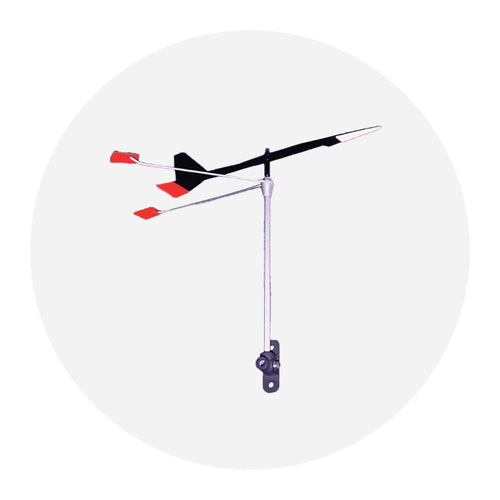
- Wind Cups
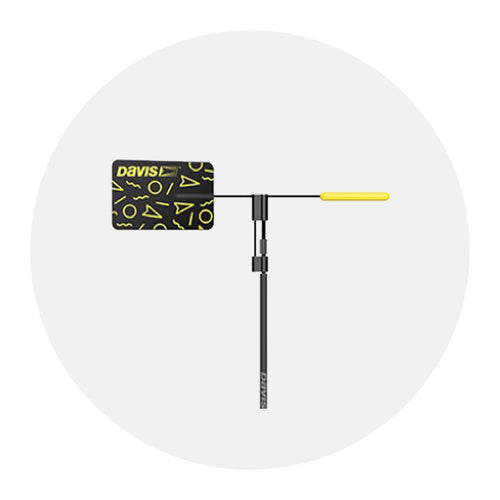
- Wind Vane (for stations manufactured since 2013 that have a D-shaped shaft. If your station is older than this, and you need to replace the vane, you will also need to get this vane, product number 7904.)
- Wind Speed Bearing Assembly, product number 7345.953
- Allen Wrench
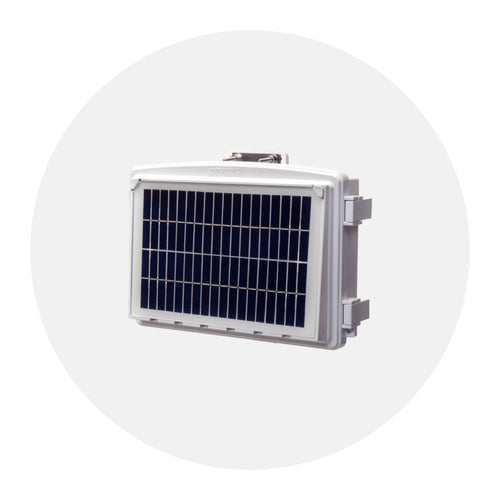
- Door with Solar Panel
- Foam Insert for Access Port, product number 7342.056
- Soft clean cloth
- Soft brush
- Clear water
- 3-C batteries for Vantage Pro2 console, 4-AA batteries for WeatherLink Live
- Optional: Pipe cleaner, voltmeter
First, to avoid recording erroneous data, power down your console and/or WeatherLink Live. To do this, disconnect AC power and batteries for legacy consoles and WeatherLink Live. To power down the WeatherLink Console, disconnect AC power and use a paperclip to press and hold down the power down button (indicated with a P) on the back of the console. After that, tap “Power off” on the screen.
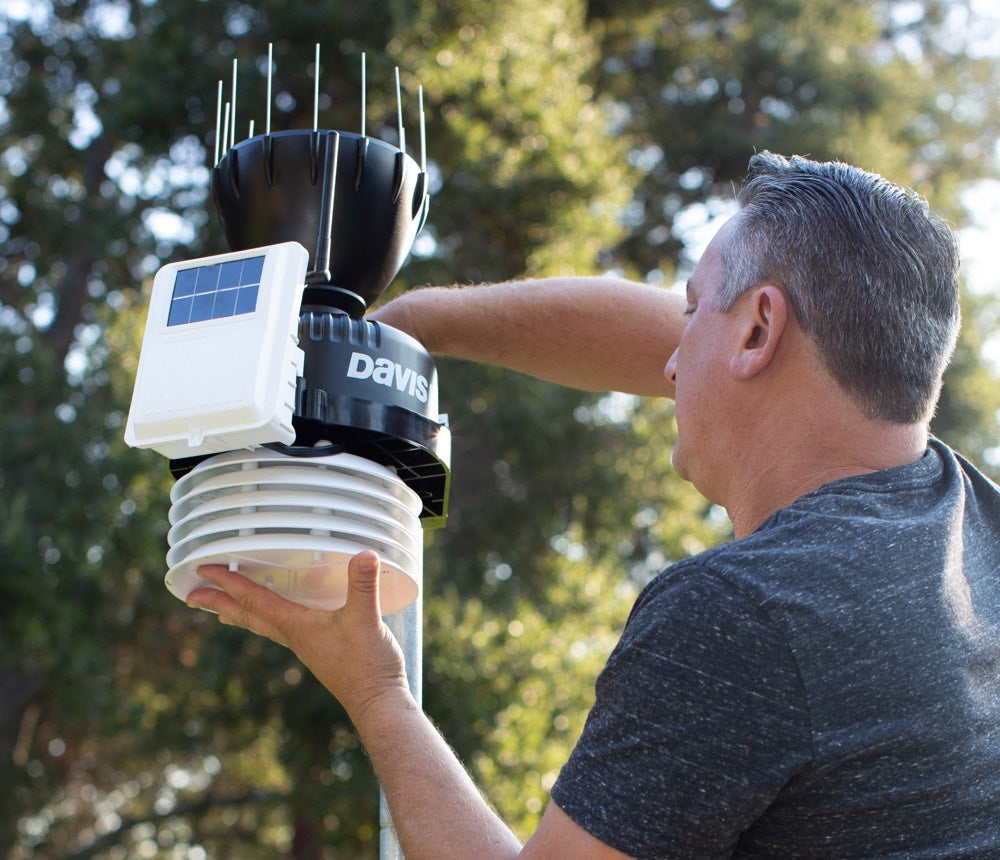
You may be able to maintain the sensor suite without dismounting it if it is accessible. However, it will be easier to unmount it and take it to a clean, well-lit work space.
If your anemometer or sensor suite is installed on the roof or on a high pole, safely take it down to solid ground. (If you have your complete sensor suite installed on the roof, now is the time to invest in a second tripod and separate the anemometer from the rest of the sensor suite.)
Start with the anemometer: Using your Allen wrench, loosen the set screws on the wind cups and remove the cups. Turn the wind cup shaft (not the cups themselves) with your fingers. It should feel smooth. If it feels gritty, your wind bearings may be wearing. They are easy to replace, and now is the time! (Note: When you turn the wind vane shaft you can feel a little resistance. This is okay.) Never use lubricant on your anemometer.
Wipe down the cups with a soft cloth and replace them. Wipe down the wind vane. If the cups or vane are broken, now is the time to replace them.
Next, remove the debris screen and rain collector cone (turn to unlock, lift off). If it is the classic old style, now is a good time to replace it with a new Aerocone. (And if you have lost your debris screen or bird spikes, we have replacements.) Inspect the tipping spoon or buckets. If you have tipping buckets, now is a good time to upgrade to the new tipping spoon. Use a soft, damp cloth to remove dust, debris, insect nests, and webs. Be careful not to scratch the surface of the tipping spoon/buckets - don’t scrape dust over it. You might want to use a pipe cleaner to make sure the funnel hole in the rain collector is clear. Replace the cone and debris screen.
Wipe down the outside of the sensor interface and solar panel (there is no solar panel on cabled versions). Our solar panels are very efficient. Even if yours looks frosty, it is probably still producing plenty of energy. But this might be a good time to proactively replace the door and solar panel. Open the sensor interface and unplug the solar panel so you can set the door aside and inspect all the cabling and make sure the RJ jacks on the sensor cables are plugged securely into the board. Look for corrosion, which usually looks white or green and a little fuzzy. (We use dielectric gel which can turn brownish – it's not corrosion. You can add more dielectric gel if you choose, such as this one.)
Now is a good time to replace the Lithium battery. It should last years, but why not be proactive? (You can also test it if you have a voltmeter. Replace it if it tests less than 2.8 volts.) Check the foam insert in the access port and replace if needed. Wait to replace the door until after you have cleaned the radiation shield.
Next, move to the radiation shield. Since this is total spa day for your Vantage Pro2, take it apart and clean all the surfaces. If you have a 24-hour-fan-aspirated version, now is the time to replace the motor and batteries. There are instructions for how to disassemble each model of radiation shield in the Vantage Pro2 Sensor Suite User Guide. Basic instructions are to first unplug the temperature/humidity sensor from the sensor interface. Then disassemble the plates, taking care to maintain the order they were in. This will make it much easier to reassemble. Once it is disassembled, you will be able to access the temperature/humidity sensor (this replacement sensor is for systems manufactured 2016 and later; if your system is older, contact Tech Support) and clean it with a soft brush or replace it if needed. Wipe down all the plates and reassemble the sensor and shield.
Plug the solar panel cable back in and replace the transmitter interface door.
Take a selfie with your refreshed weather station and post it to our Facebook page and tag it with #MyDavisStationSpaDay. Remount your weather station, repower your console and/or Weather Link Live with fresh batteries (not applicable for the WeatherLink Console). Check the time on your console and reset it (legacy consoles only).

Vantage Vue
What you need:
-
Vantage Vue Complete Tune Up Kit: Product no. 6996 Cost $80 (save over buying individual parts)
Includes:
- Lithium Battery
- Debris Screen
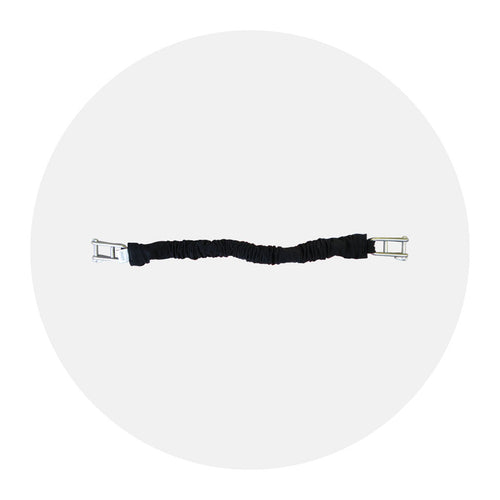
- Rain Mechanism (US) or Rain Mechanism (Metric)
- Wind Speed Cartridge, product number 7345.271
- Allen Wrench
- Soft clean cloth
- Soft brush
- Clear water
- 3-C batteries for Vantage Vue console, 4-AA batteries for WeatherLink Live
- Optional: Pipe cleaner, voltmeter
First, to avoid recording erroneous data, power down your console and/or WeatherLink Live. To do this, disconnect AC power and batteries for legacy consoles and WeatherLink Live. To power down the WeatherLink Console, disconnect AC power and use a paperclip to press and hold down the power down button (indicated with a P) on the back of the console. After that, tap “Power off” on the screen.Unmount your sensor suite and take it to a clean, well-lit work space.
Start with the anemometer. Using your Allen wrench, loosen the set screws on the wind cups and remove them. With your fingers, turn the wind cup shaft. It should turn smoothly with no grittiness. If you feel grittiness in the cups, now is the time to replace the wind cartridge. Turn the wind vane. The vane may feel a little “out of balance.” This is okay. However, if your vane feels gritty, you might want to talk to our Tech Support team.
Wipe down the cups and vane with a soft cloth and replace the cups. If the cups or vane are broken, now is the time to replace them.
Next, remove the debris screen and wipe down the rain collector cone. You can use a pipe cleaner to make sure the funnel hole in the rain collector is clear. Rinse with clear water. Remove the rain tipping spoon assembly (on the underside of the sensor suite) by unscrewing the thumbscrew and sliding the assembly down and away. Use a damp soft cloth to gently remove any dust or debris from the tipping spoon. Be careful not to scratch the spoon or damage any moving parts. Rinse with clean water and replace the assembly.
Now is a good time to replace the Lithium battery. It should last years, but why not be proactive? (You can also test it if you have a voltmeter. Replace it if it tests less than 2.8 volts.)
Remove the four screws holding the white plastic housing onto the base. Look inside to make sure there are no insects or nests and that all covers on internal parts are secure. Replace the cover.
Next, remove to the radiation shield. Disassemble the plates, taking care to maintain the order they were in. This will make it much easier to reassemble. Wipe all the plates down and reassemble the shield.
Take a selfie with your refreshed weather station and post it to our Facebook page and tag it with #MyDavisStationSpaDay. Remount your weather station, repower your console and/or Weather Link Live with fresh batteries (not applicable for the WeatherLink Console). Check the time on your console and reset it (legacy consoles only).
![]()
In the face of escalating environmental risks, AEM is the essential source for insights on weather, climate, lightning, floods, wildfires, water management, and more.
Learn more about AEM and all of our solutions here.