






What Equipment Do I Need to Start a Personal Weather Monitoring System?
by Doug Analla
by Doug Analla
Launching a personal weather monitoring system starts with choosing reliable instruments, placing them correctly, and linking them to a platform that can log, analyze, and share your observations. The essentials below outline how to build a capable home weather station and what to conisder as you plan your setup. Whether your goal is simple backyard tracking or contributing to citizen-science networks, a carefully selected DIY configuration can deliver dependable, high-quality data and can deliver dependable, high‑quality data and make local weather insights part of your routine.
For more than 60 years, Davis Instruments has helped weather enthusiasts, growers, and professionals create durable, high‑performance monitoring setups. Our rugged integrated sensor suites, proven anemometer designs, and WeatherLink connectivity options make it straightforward to select a station, pair it with the right mounting hardware, choose the best location, and trust your readings in harsh sun, wind, rain, and snow. If you're building your first station or expandign an existing system, our experience helps ensure reliable results.
Budget, site conditions, and expansion plans will shape your choices. Starter stations cover core measurements and can be upgraded later with additional sensors and accessories. Selecting a platform that supports growth helps you match your station to eveolving needs without replacing your entire setup.
A capable starter station includes four core instruments that work together to capture your local microclimate. Begin with these components to build a reliable, site-appropriate system:
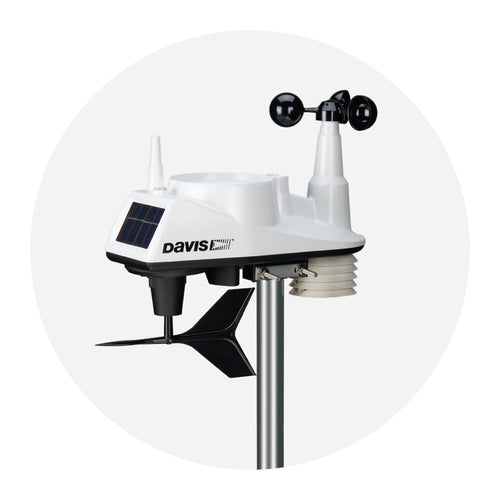
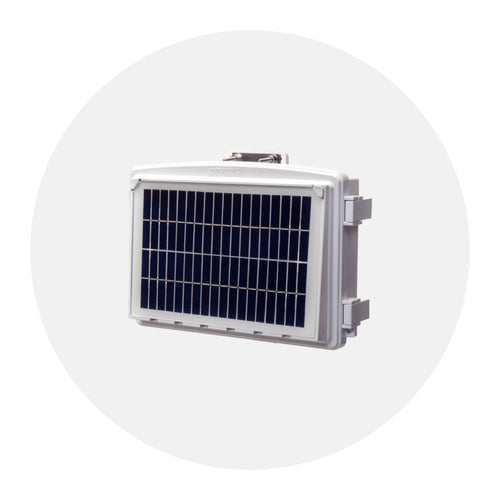
Accuracy and durability are critical. Select sensors with published accuracy specs, low long-term drift, and weather-resistant housings rated for UV, temperature extremes, and moisture. Integrated suites that combine multiple sensors can simplify installation and reduce maintenance. Davis Instruments Vantage Vue and Vantage Pro2 suites integrate wind, temperature, humidity, and rainfall measurement into proven, field-serviceable, upgradeable platforms..
Vantage Vue provides a compact, all-in-one package suitable for most home users who want straightforward installation. Vantage Pro2 add flexibility with separate anemometer mounting, and support for optional sensors such as UV and solar radiation, soil moisture and temperature, and leaf wetness - ideal for monitoring and specialty applications.
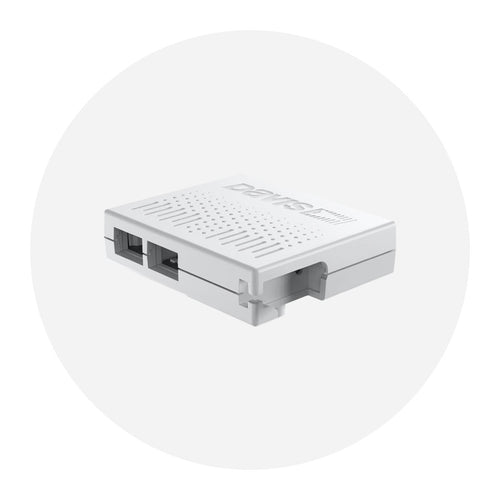
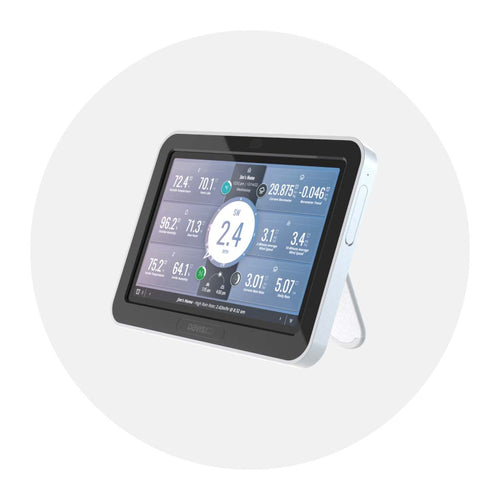
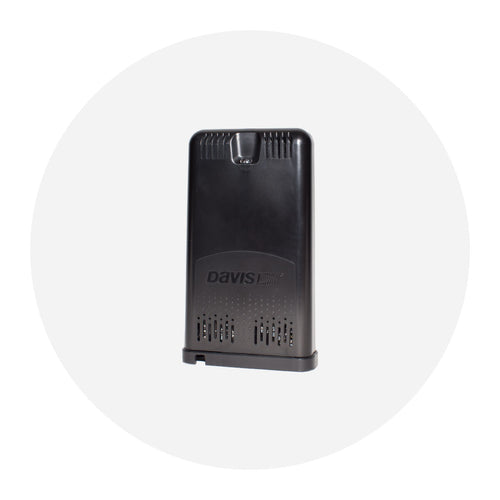
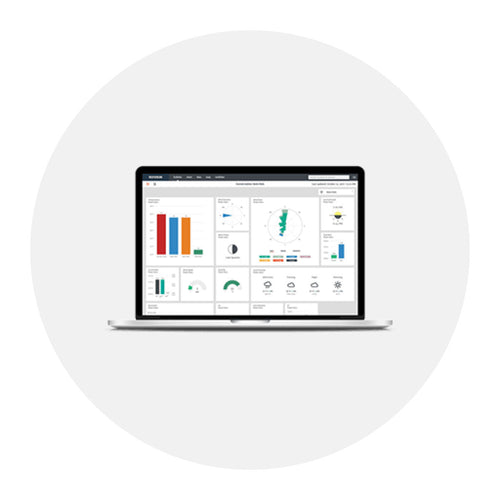
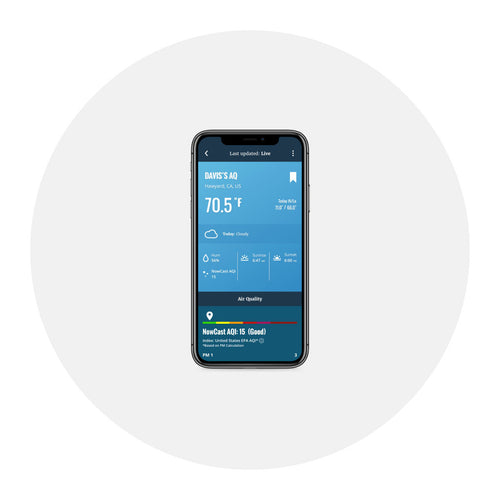
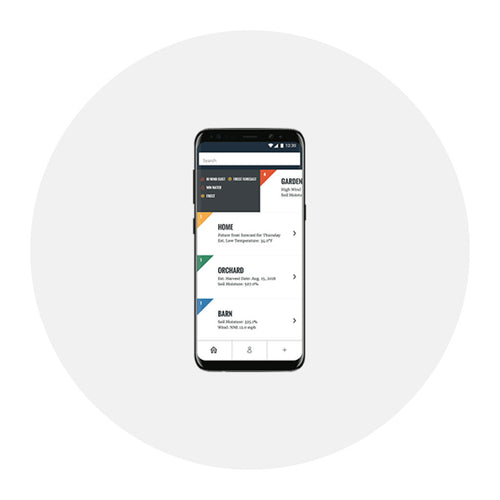
To turn measurements into insights, pair sensors with a data logger and software. A console or gateway collects readings and transmits them to a local display, computer, or cloud service. Apps and web dashboards let you chart trends, export data, set alerts, and share observations with networks such as WeatherLink and CWOP. With Davis WeatherLink, you can build custom dashboards, publish your data to the community, and manage your system from virtually anywhere.
Placement has a major impact on data quality. Consider these guidelines before maounting any sensor:
Davis Instruments is a trusted choice for building a personal weather monitoring system. Our integrated sensor suites, durable housings, and flexible WeatherLink ecodystem help you creat a station that performs reliably for years. With field-tested accuracy, clear upgrade paths for new sensors, including UV and solar radiation, and responsive support, you can make everyday decisions with confidence.
Answers to common questions about starting a personal weather monitoring system.
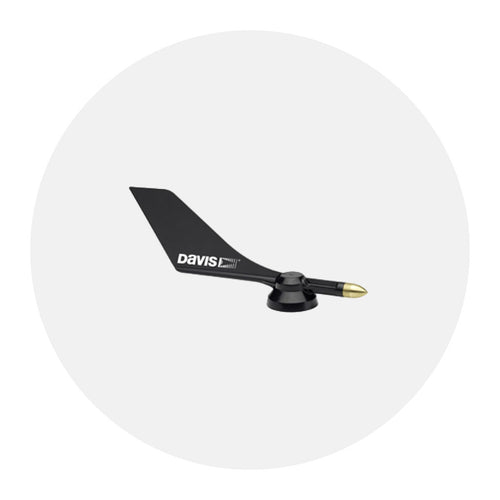
At a minimum: a temperature/humidity sensor with readiation shielding, a barometer, an anemometer with wind vane, and a tipping-bucket rain gauge, plus a console or gateway for data logging and viewing.
Typical ranges:
Yes. Vantage Pro2 supports optional UV and solar radiation sensors.
Place temp/humidity sensors 4-6 feet above natural ground in a shield; rain gauge level with unobstructed sky; anemometer ideally 33 feet high or as high and clear as possible. Keep all sensors away fom heat sources and obstructions.
Use a console or internet gateway with WeatherLink kto view dashboards, chart trends, export data, and wet alerts.
Yes. Start with core sensors and add options like UV, solar radiation, soil moisture, leaf wetness, and enhanced data logging as your needs grow.