









How to Set Up a Home Weather Station
by Doug Analla
by Doug Analla
Installing a home weather station lets you track temperature, rainfall, wind, and more right in your yard, delivering accurate, hyperlocal data. This guide covers how to set up a home weather station: what to buy, how to place and install your sensors, how to calibrate them, and how to maintain the system so you get reliable readings year-round. If you're wondering how to set up a home weather station and choose the best location for outdoor temperature sensor placement, the sections below outline practical steps and protections for any home weather station setup.
A home weather station combines sensors that measure conditions such as temperature, humidity, barometric pressure, rainfall, wind speed, and wind direction. With continuous, precise data, you can make smarter decisions for gardening, home energy use, safety alerts, and sharing with online communities. If you want to make your own weather records truly local, learning how to set up a weather station at home is the best place to start.
Stations range from simple to professional-grade:
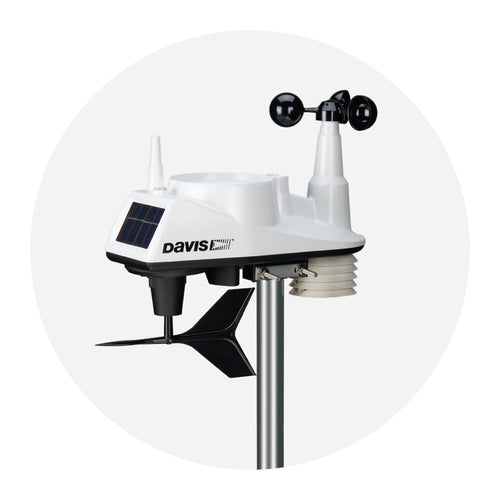
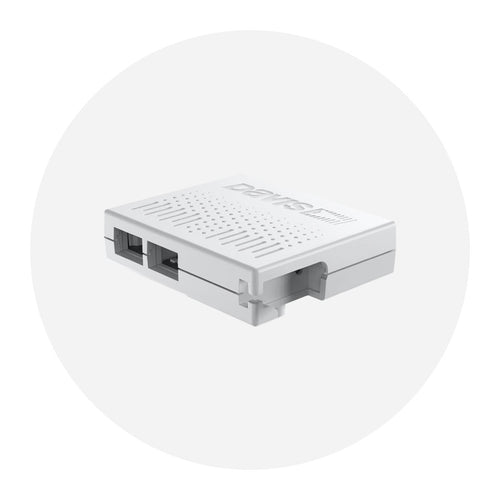
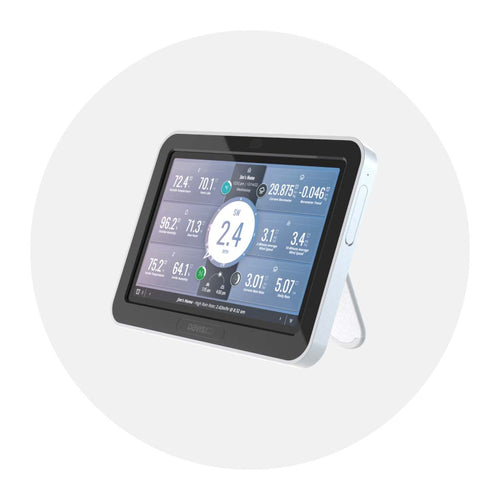
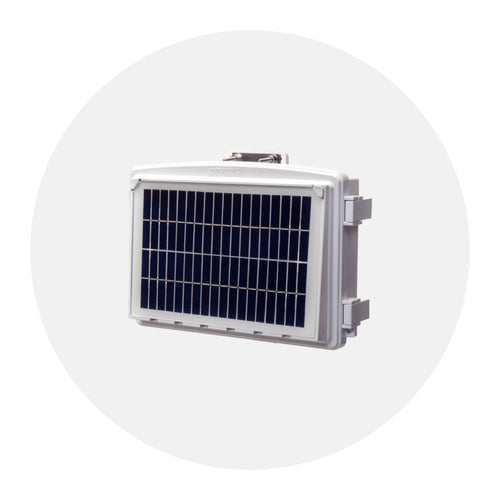
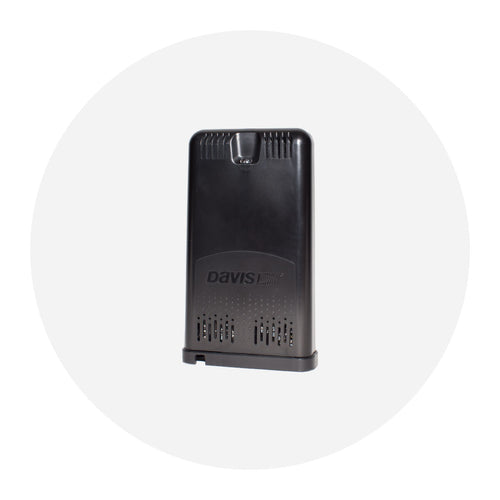
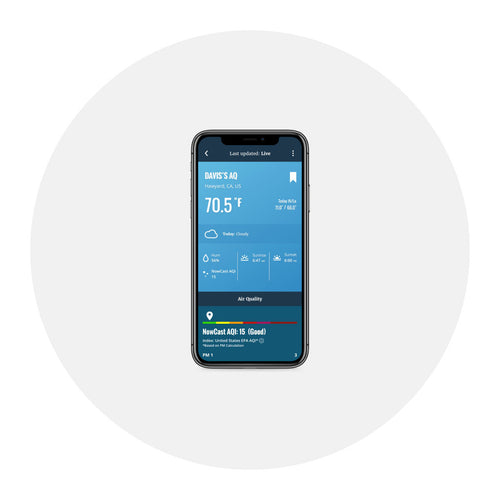
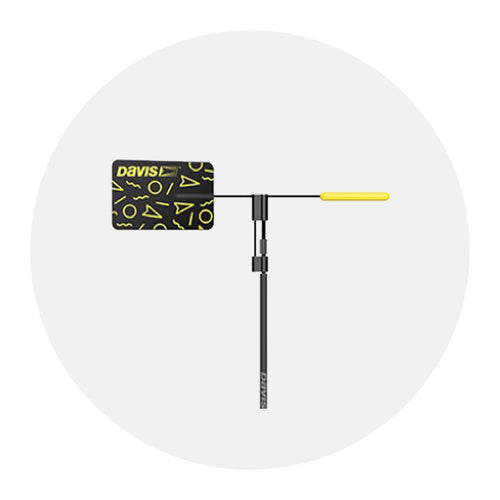
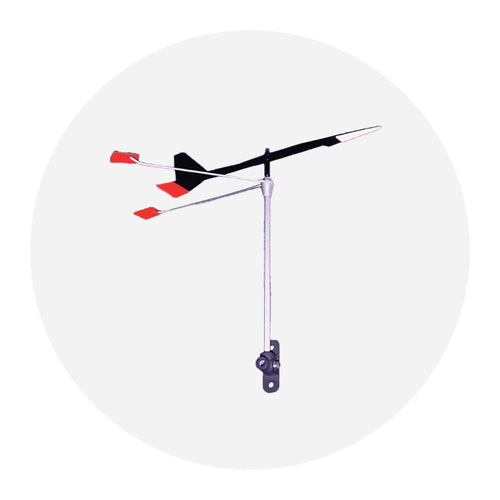
Some systems are all-in-one sensor suites, while others use separate sensors for flexible placement. Typical compoonents include an outdoor temperature/humidity sensor in a radiation shield, a rain gauge, an anemometer with wind vane, a barometric pressure sensor, a data console or hub, mounting hardware, and power via solar with battery backup or AC. Prioritize durable construction, reliable wireless range, and a console or app that clearly logs and visualizes data. Ensure each sensor is compatible with your console or gateway so your home weather station setup scales with your needs.
In any home weather station setup, accurate siting is as important as sensor quality. Mount sensors where they reflect the general conditions of your property, away from artificial heat sources and wind obstructions. Keep them accessible for routine maintenance without compromising exposure. Anyone aiming to build your own weather station or make your own weather setup modular should plan locations before mounting.
Environmental factors matter. Shade can reduce temeprature bias but must not block airflow; wind exposure should be as open as possible for the anemometer; nearby structures can trap heat, cause turbulence, or deflet rain. If using an all-in-one sensor suite, choose a compromise location that maximizes wind exposure while minimizing radiant heat and splash effects on temperature and rainfall measurements. These principles apply to any home weather station setup and directly informt he best location for ourdoor temperature sensor positioning.
Before you begin, unpack and check that you have the sensor suite, mounting hardware, console or gateway, power supplies, and documentation. Assemble the sensor suite according to the manual, tightening fasteners and ensuring moving parts—such as the tipping bucket in the rain gauge and the anemometer—move freely. Mount on a sturdy, plumb mast or tripod rated for outdoor use.
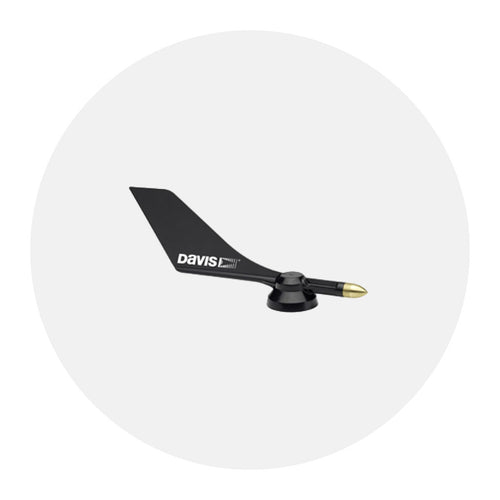
Power and configuration come next. Install fresh batteries or connect solar/AC power, then pair outdoor sensors with the indoor console or hub. Set your location, time zone, and elevation so barometric pressure is calculated correctly. Level the rain gauge precisely with a bubble level and verify the funnel and debris screen are seated properly. For wind direction, align the vane to true north; use a compass and adjust for your local magnetic declination to ensure accuracy. If you're exploring how to set up a weather station at home by building from individual parts, pari and test each sensor incrementally as part of a careful home weather station setup.
Protect sensors from rain, sun, and wildlife to preserve accuray. Use a quality radiation shield for temperature/humidity; this mitigates solar heating and ensures airflow. Position cables in UV-resistant conduit and secure with weatherproof clips. Add bird spikes or covers around the rain gauge to deter perching and nesting; install insect screens where recommended to prevent debirs. Mount hardware robustly to withstand gusts, and avoid locations under roof drip lines to reduce splash-in. A good home weather station setup also includes periodic inspections to confirm the best location for outdoor tempeature sensor exposure remains unobstructed as vegetation grows.
Regular care preserves data quality. Every one to two months, clean the rain gauge funnel and tipping bucket to remove leaves, dust, and insects. Rinse gently and avoid soaps that can leave residue. Inspect the radiation shield for dirt or webs and wipe any solar panel if applicable. After strong winds or storms, check the mast and brackets and retighten hardware if needed. Replace or recharge batteries proactively—often annually—and keep device firmware current.
Keep software and firmware up to date to improve stability, expand features, and maintain compatibility with online platforms. If you're learning how to set up a home weather station for long-term accuracy, revisit siting at least seasonally as foliage changes. With careful placement, attention to environmental factors, and sensible protection fromw weather and wildlife, you'll know how to set up a weather station at home for reliable, year-round data.