


FAQs: WeatherLink Console
General
Intenet-based, localized forecasts are only available when you are in Online mode. (Logged in to WeatherLink.com.)
Offline mode keeps you connected to Wi-Fi to ensure accurate time but disconnected from WeatherLink.com.
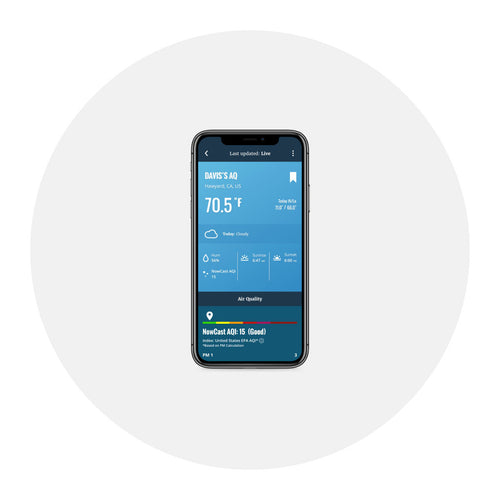
Online means your Console is connected to Wi-Fi and also connected to your account on WeatherLink.com. This will give you access to live updates on your mobile app and your page on WeatherLink.com, as well as specialized internet-based forecasts.
Your Console can also operate offline and off Wi-Fi as a standalone device.
The main Display screen must be open to hear the audible alarm.
The WeatherLink Console and WeatherLink apps use a weather feed from Custom Weather, a proprietary weather forecast provider. Our provider does not publicly release details concerning the variables that power its weather forecast model. Customers cannot currently change the weather forecast provider to another source.
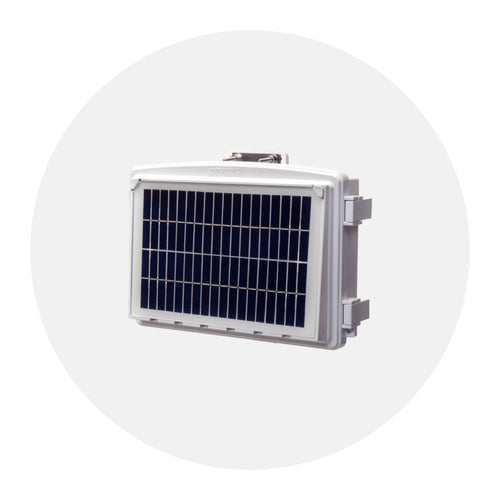
Yes. Your older console is a powerful transmitter that can retransmit to your new one. Refer to the original Vantage Pro2 or Vantage Vue Console User Guides to learn how to set up your old console to retransmit on its own ID number. Choose any open ID.
You will need to set your WeatherLink Console to listen to this transmitter ID. The old console will become one of your “Stations and Sensors.” To add it, go to the Accounts screen, choose Console Configuration, then choose Stations and Sensors. Tap the ID number that the old console is retransmitting on. On the next screen, choose Vantage Pro2 or Vantage Vue depending on your sensor suite.
When an alarm is activated, you will see a notification in the Ticker Tape area of the display. To silence the audible alarm, tap the Alarm Off symbol. The alarm will go off by itself after a minute if you do not turn it off.
Yes. The signal strength is a real time reading and can fluctuate. Fair and good are both indicators of sufficient strength. You can verify by looking at the reception percentage.
Yes, you can create a WeatherLink.com account any time now or in the future. However, the start date for your data on WeatherLink.com will be when you create and connect your Console to your account.
Display
Watch this video to learn how to get started with setting up your new WeatherLink Console.
Configuration
Watch the below video to show how to configure the tiles on your WeatherLink Console main display. It will also show how to add data from your AirLink to your WeatherLink Console if you also have an AirLink connected to your WeatherLink Console.
The WeatherLink Console has built-in Wi-Fi so you do not need a separate WeatherLink Live device in order to connect to Wi-Fi.
Go to the Account tab and tap Console Configuration. Tap the pencil icon next to your network.
Davis sensors are factory-calibrated for accuracy and will normally not need any calibration. Comparing your data to TV reports or other sources is not recommended because weather data varies by microclimate. However, if you believe your console does need calibration, go to the Accounts tab, then tap Console Configuration, then tap Stations and Sensors. Scroll down to the ID number of your station and tap Edit. On the sensor detail page, tap Advanced Settings. On the next screen, you may enter calibrations for outside temperature and humidity, and wind. To calibrate inside temperature and humidity, in the Accounts tab, tap Console Settings.
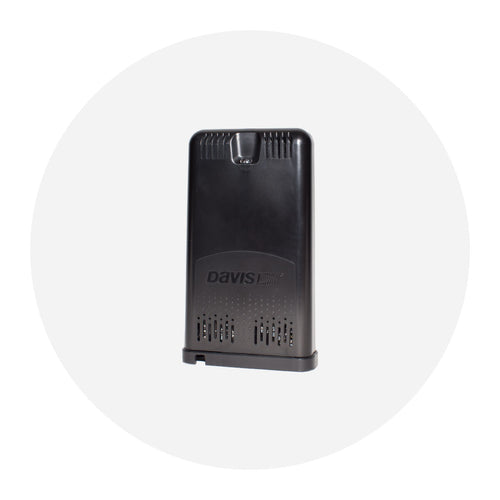
You can now add a new or existing AirLink air quality monitor to your system and view the air quality data on your WeatherLink Console.
Unlike the sensors on your sensor suite, AirLink uploads data directly to WeatherLink.com and the WeatherLink app via Wi-Fi, and that data then appears on your Console. Since it does not use a radio connection to report to the WeatherLink Console, it does not need a transmitter ID, nor does it use up one of the 8 available transmitter IDs to your WeatherLink Console.
To Add a new AirLink
- Create your WeatherLink.com account, install the WeatherLink App on your phone, and set up your WeatherLink Console first.
- Open the WeatherLink app.
- On the Devices screen, tap the Add button.
-
Tap AirLink

-
Choose Install on existing device, then choose your WeatherLink Console device, then click Install.

- Follow the prompts to finish adding your AirLink.
To Move an Existing AirLink
If you already have an AirLink air quality monitor and its data is not appearing on your console, it may be because the AirLink was installed on a different system.
For example, you may have received an AirLink and installed it as part of a system that uploaded to WeatherLink.com via a WeatherLink Live. Now that you have added a WeatherLink Console, you can move it from the WeatherLink Live to the WeatherLink Console.
- Open the WeatherLink App on your phone and tap the account icon in the upper right corner
-
Scroll down to the Devices section. You will see a list of your devices or systems. Tap the arrow (>) next to the device on which your AirLink is currently installed.

-
On the next screen, tap Edit next to the AirLink you want to move.

-
On the next screen, tap Move.

-
A message will appear asking if you want to move this to a standalone device or to an existing device. Since you are moving it to your existing WeatherLink Console, tap Move to existing device.

-
In the next screen, choose your WeatherLink Console.

- Tap Move Sensor, then Confirm.
- Your air quality data will now appear on your WeatherLink Console.
No, the WeatherLink Console can receive data from your local sensors without a Wi-Fi connection. However, Wi-Fi is needed for keeping accurate time on the console and for firmware updates (which occur at 3:00 am local time if available). You do NOT need to be logged in to WeatherLink.com; you just need to be connected to Wi-Fi.
Wi-Fi is needed for keeping accurate time on the console and for firmware updates (which occur at 3:00 am local time if available). You do NOT need to be logged in to WeatherLink.com; you just need to be connected to Wi-Fi.
Even if your latitude and longitude look correct on your WeatherLink Console, please re-submit your latitude and longitude on your WeatherLink Console. This will refresh the WeatherLink.com servers with your correct location information.
To re-submit your latitude and longitude on your WeatherLink Console:
- Tap the Home Icon
- Tap the Person Icon
- Tap on the Console Configuration tab
- Then tap on the pencil to the left of Location
- Then using either the Map or the Search box, go to your location so that your latitude/longitude is correct
- Once your have the correct location, make sure to tap the Save button
Data
The microSD Memory Card port on the WeatherLink Console (WLC) is designed for factory programming of the device. There is not any functional use of this for the end user.
No, the WeatherLink Console only interfaces with WeatherLink.com.
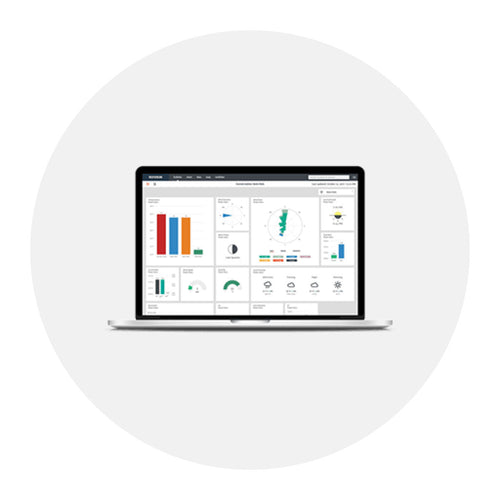
You can export data from WeatherLink.com in Excel format with a WeatherLink.com Pro or Pro+ subscription.
We offer a Weather Envoy that supports a WeatherLink USB or Serial data logger. This will allow you to interface with WeatherLink PC software.
Yes . When reconnected, your Console’s stored data will be pushed to your WeatherLink.com account.
Yes, the current WeatherLink.com v2 API supports data from a 6316 WeatherLink console. Details can be found here.
You can also reach our WeatherLink API team over Discord using the above link.
Electrical
There are several ways to reboot the WeatherLink Console Use a SIM Insertion tool, or a straightened-out paper clip.

Soft Reboot:
- Insert a paperclip in the “R” hole on the back of the console and hold for more than 1 second.
- Release the button and you should see the screen restart.
Hard Reboot (both achieve the same results)
Hard Reboot (Option 1):
- Remove the USB cable from the back of the console.
- Insert a paperclip in the “P” hole on the back of the console.
- Press and hold until you see the menu on the front showing Power off.
- Select “POWER OFF”.
- Wait for 2 minutes.
- Then reconnect the USB power cable. The unit should power back up.
Hard Reboot (Option 2):
- Remove the USB cable from the back of the console.
- Insert a paperclip in the “P” hole on the back of the console.
- Press and hold for greater than 8 seconds and until you see the screen turn completely off
- Wait for 2 minutes. Then reconnect the USB power cable. The unit should power back up.
Less than a day.
No. The computer USB port will not supply the correct power. Use the AC adapter.